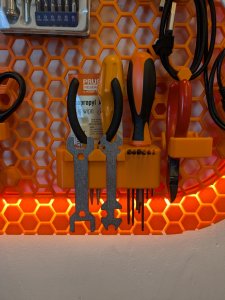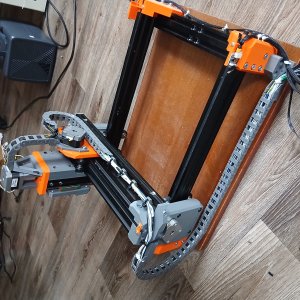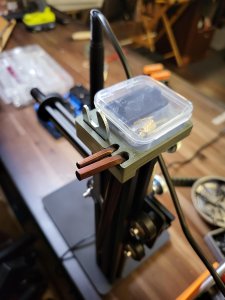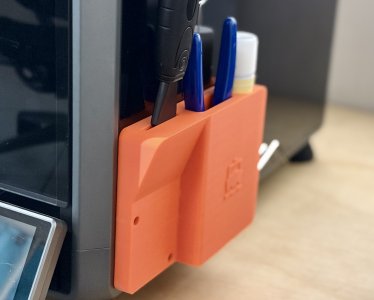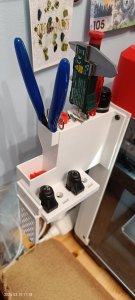
Flashforge AD5M - Enclosure attached tool holder
Printables · Vic

MakerWorld
The licence (personal use only) allows non-commercial use only. Download the file at the source, upload it to us and print it on the rented printer for your own use, not for sale.
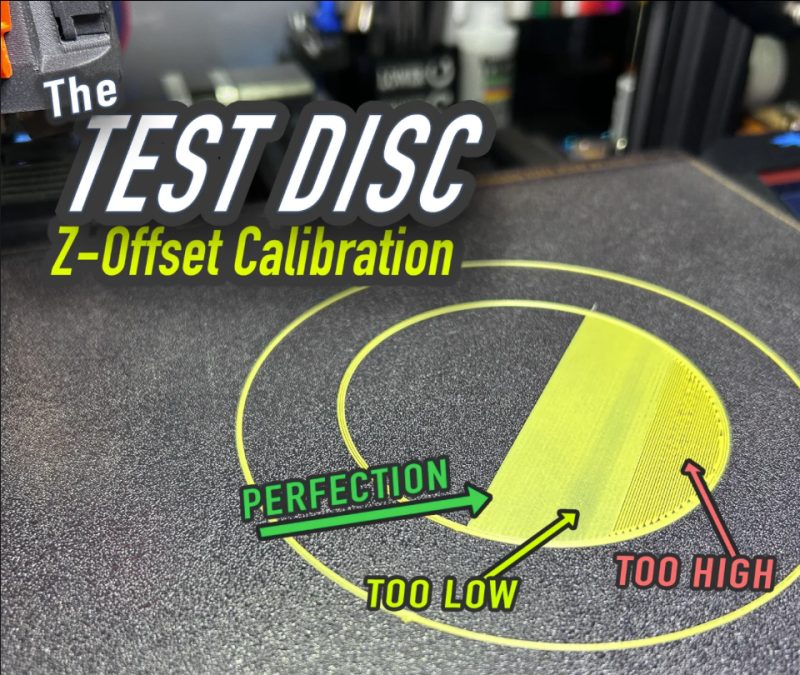
Upload the file and printTHE TEST DISC The Bambu Printers do not have an easy Z-Offset baby steping interface. If you notice your prints do not have a perfectly smooth first/bottom layer (you see layer lines), you can change the z-offset in Bambu Studio to give it more squish. Goto to Printer Settings | Machine G-code |Machine start G-code. You will need to scroll down until you find the section for z-offset on textured build plate. Change the value one at a time (from the default -0.04 to -0.05 etc.) and retest with a Test Disc. change this to a higher negitive number brings the bed closer to the nozzle. WARNING if you change this number incorrectly, you could cause damage to your bed, nozzle or other parts. Do this at your own risk! BAMBU X1C Example Above: I started at the default z-offset = -0.04, using this calibration disc, my z-offset ended up at -0.10 (perfect smooth 1st. Layer, if it was to close, backoff to -0.09). Your Z-offset results may be different. This process can also be done for other plates as well, you notice I also changed the “Cool Plate”. Can be found in the middle of Machine gcode - Example: ;========== For Textured PEI Plate, Cool Plate ========================================= ;curr_bed_type={curr_bed_type} {if curr_bed_type=="Textured PEI Plate"} G29.1 Z{-0.07} ;
Printables · Vic
MakerOnline · piodeer
MakerWorld · wuguigui
Printables · maby
Printables · Matt
Printables · SemkoAnton
Printables · nguyenkvvn
Printables · raphworks
Cookies and measurement. The necessary cookies are always on; visit measurement and ads only with your consent. More about cookies