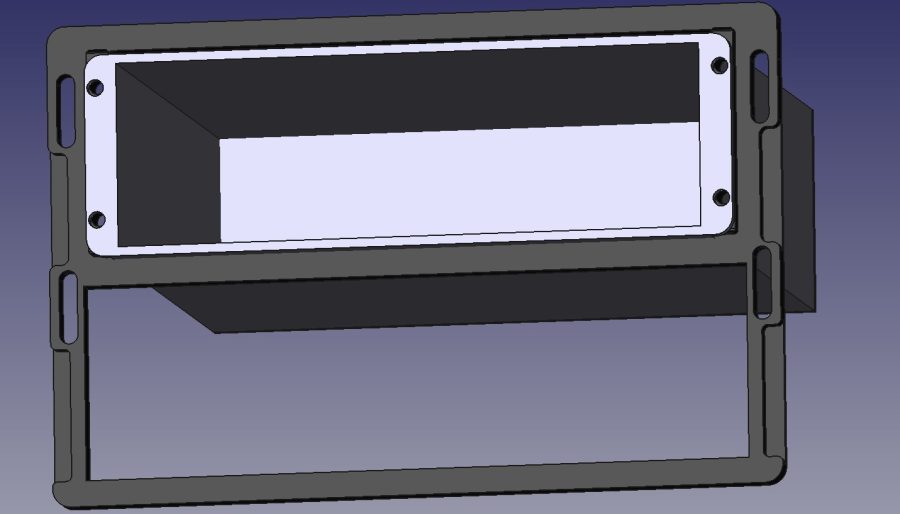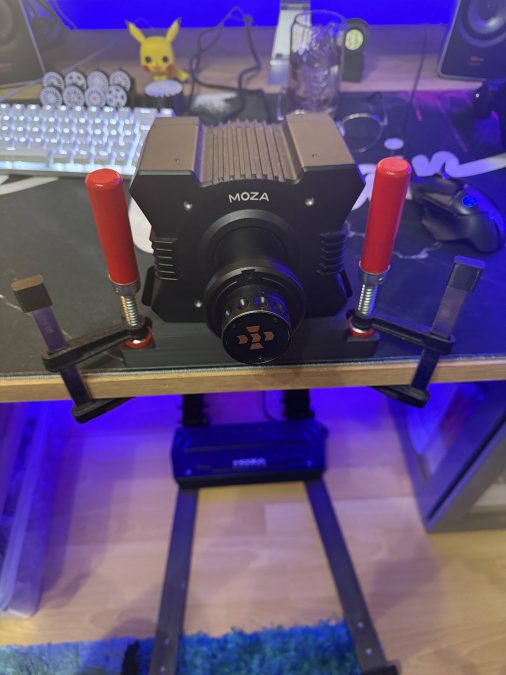
MOZA R9 Wheelbase Tablemount
MakerOnline

autor 3D Printing Dude · Printables
Licence (CC BY-NC (jen nekomerčně)) dovoluje jen nekomerční použití. Stáhněte si soubor u zdroje, nahrajte ho k nám a vytiskněte na pronajaté tiskárně pro vlastní potřebu, ne na prodej.
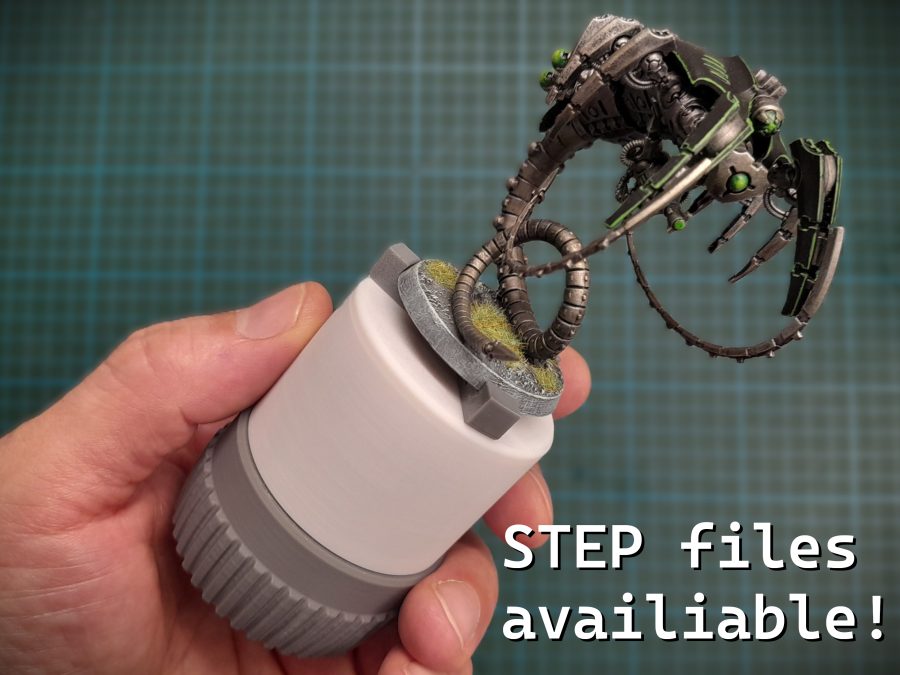
Nahrát soubor a vytisknoutInspired by Sneaks awesome vise model I designed this miniature holder for painting. This mechanical concept makes so easy to attach and release miniatures with different base diameter or shape (square, oval…) although is best for round ones (up to 50 mm) PRINT SETTINGS: No supports. Print teeth with brim to ensure good bed adhesion. My recommendations are 3 walls, 20% infill, 0.2 layer height. On Prusa Slicer, Bambu Studio or Orca Slicer make sure to disable thick bridges. You need to have well tuned printer and filament settings (flow rate, e-steps) in order to print accurate parts because this model has tight tolerances. ASSEMBLY NOTES: • Teeth are numbered, it's very important to put them in the right place and order. • If you have some grease, like superlube or lithium grease it can make vise run way better. It's not a must, but always helps. IMPORTANT UPDATE 11/15/23: If you are having trouble with 50mm version of teeth make sure to download the FIXED stl files. Turns out that Prusa Slicer and Bambu Studio have an extrange behavior that makes 50mm version of the teeth to be sliced incorrectly when using 0.2 layer height, making them grip to the top part due to slightly larger measurement in some areas. Thanks to sphink for report this issue! Check for other updates after the short assembly video at the end of description. ASSEMBLY STEPS: • All three teeth are numbered by dots, look for the one with only one dot and take it. • Place it from the inner hole sliding it all to the end of the slot. • Place the other two teeth strictly in clockwise order as shown in the picture above. • Put a little bit of grease with your finger on top of bottom part and spread it well. • Align tooth number 1 with the notch in the bottom part and attach both parts together. All three teeth must remain always completely open to fit in the right place. • Test vise assembly twisting it back and forth to check teeth movement. Maintain a little pressure to ensur
MakerOnline
MakerOnline
MakerOnline
MakerOnline
MakerOnline
MakerOnline
MakerOnline
Cookies a měření. Nezbytné cookies jsou vždy; měření návštěvnosti a reklamy jen s vaším souhlasem. Víc o cookies