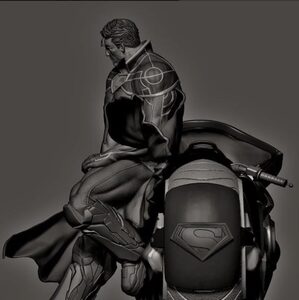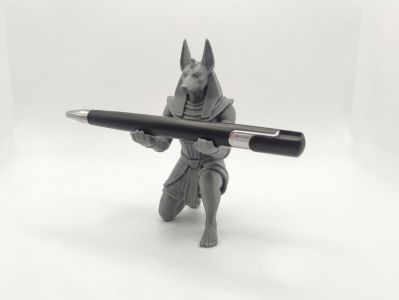
Anubis pen holder
Printables · Pomeranč

autor basti30 · Printables
Licence modelu (CC BY (s uvedením autora)) dovoluje i komerční použití. Stáhněte si soubor u zdroje a nahrajte ho k nám. Autora a zdroj uvedeme u objednávky za vás.
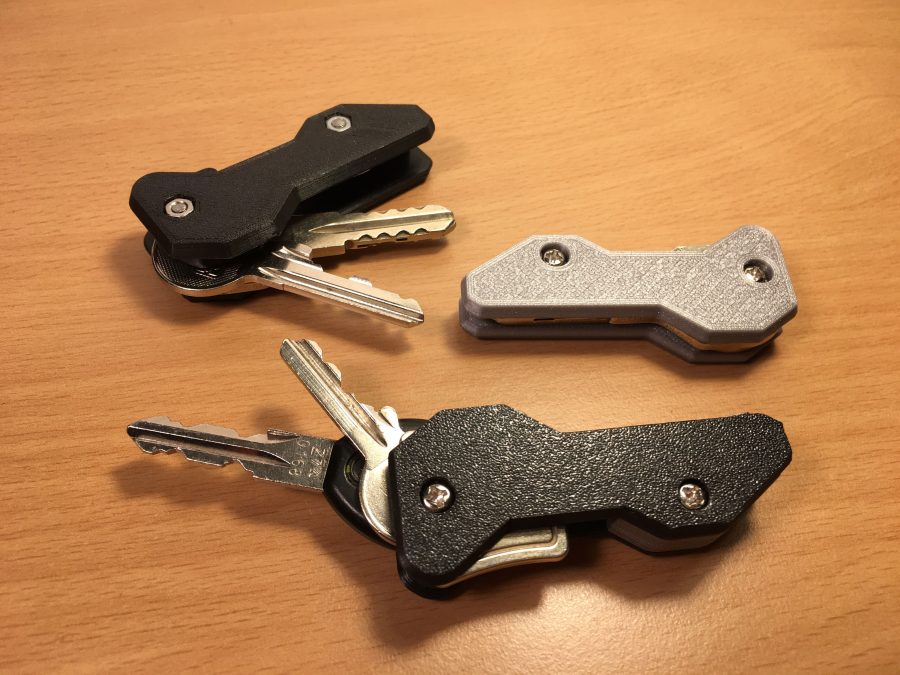
Nahrát soubor a vytisknoutA lightweight Key Organzier: • Prevent key scratches on your phone or wallet • Easy to use with one hand: push keys out with index finger and select the key you need. Perfect when carrying stuff. • Customizable in slicer to fit your amount of keys: Just scale the spacer part in your slicer to be exactly as high as your stack of keys. (eg. your keys need 9.2mm, take the spacer_10mm.stl and scale it in z direction by 92%) • No rough edges while still looking good • Fits most keys, from big house keys to smaller keys like bike chain keys, etc. • Silent, no "key jingle" • Very easy print All you need are two M3 screws and two M3 nuts. It's best to take a screw that's too long and cut/file it down to the right length. That's much easier than to find the right length for your set of keys. Tipps & Tricks: • Print the two halves first and assemble it, then measure how thick the spacer needs to be. Scale the 10mm thick spacer in z-direction in your slicer. (92% for 9.2mm etc.) Also you can adjust how strong the keys are held in place by making the spacer thinner. • Use the textured spring steel plate for the halves and choose Hilbert Curve as bottom fill pattern for an extra nice finish. • For the hinge mechanism to work best, you can fill the inside of the key holes with eg. molten filament and drill a 3mm hole for the screw. • The holes are designed to have one full layer in the middle. This helps with bridging. Just punch through this layer with something pointy. • If the spacer isn't perfectly fixed in place, you can add a drop of CA glue between one half and the spacer. • Also you can use Loctite or CA glue to prevent the nut from loosening over time. (to undo heat up the nut with a soldering iron, this destroys the glue again) • Print parameters are not important, should work regardless of settings (I use 0.15mm layer height, 70% infill, 3 perimeters and no support) Please let me know if you have any feedback or suggestions, I may update t
Printables · Pomeranč
MakerWorld · Laura12
Printables · Pippa
Printables · Peterson Daughtry
Printables · Andreas Jäde
MakerOnline · fifindr
Printables · HribaDesign
Printables · LV3D
Cookies a měření. Nezbytné cookies jsou vždy; měření návštěvnosti a reklamy jen s vaším souhlasem. Víc o cookies