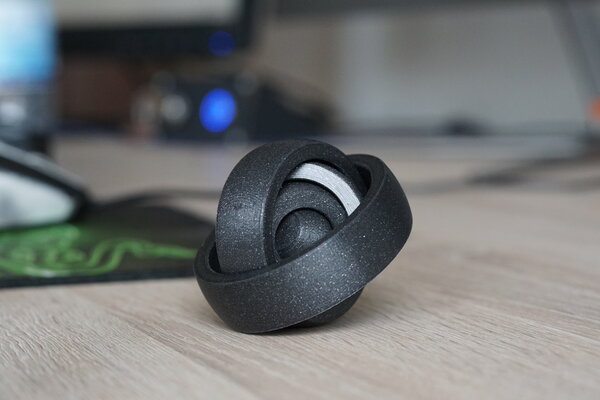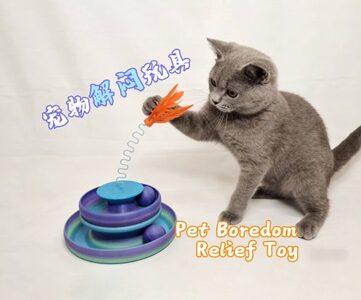
Pet Boredom Relief Toy |宠物解闷玩具🐱✨
MakerOnline · 大宝贝。

autor Ada Cohen · Printables
Licence modelu (CC BY (s uvedením autora)) dovoluje i komerční použití. Stáhněte si soubor u zdroje a nahrajte ho k nám. Autora a zdroj uvedeme u objednávky za vás.
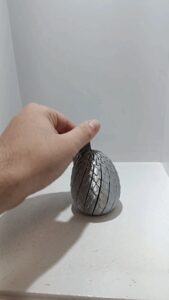
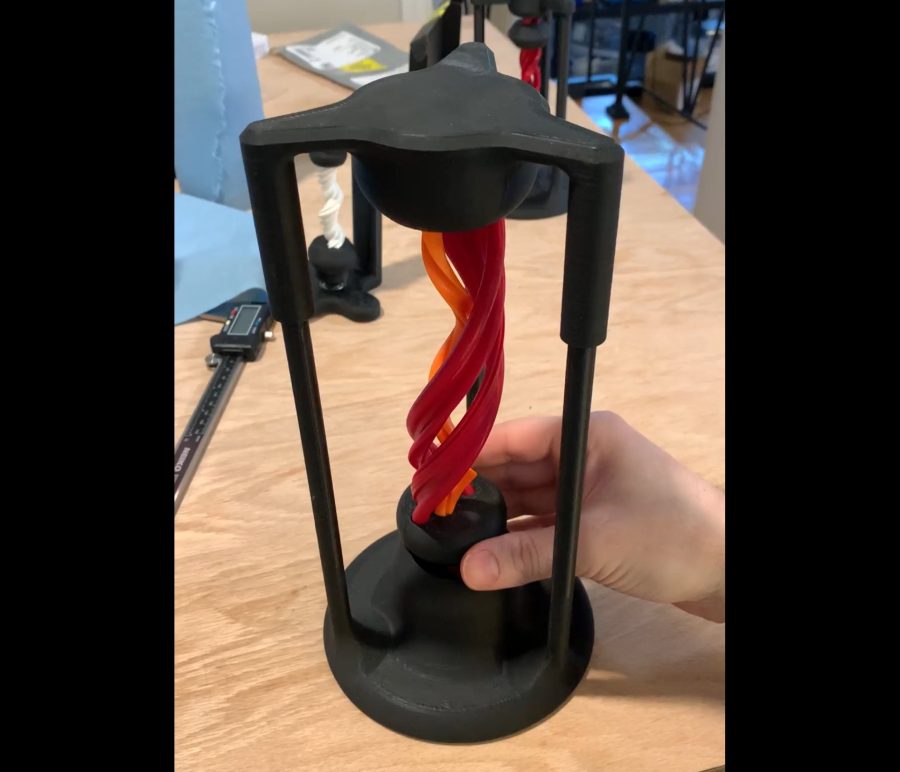
Nahrát soubor a vytisknoutUpdate: There is now a third version of this model with more moving components, and only printed components. This is a followup to the simpler Magic Portal Desk Toy. This introduces a second screw element threaded in the reverse direction to help obscure how the illusion works. Differences from the first version: • Stronger illusion • Somewhat quieter • You can rotate the center assembly and see that it is not a simple screw • The slider cannot fall freely to the bottom when you let go. • Stricter print requirements; you need at least a 246mm build height • More difficult to print • More difficult to assemble. I had to trial and error a lot of the assembly, but I'll do my best in the description below • May require some glue How it works The fundamental illusion is just the barberpole illusion with some window dressing. Using a strangely shaped revolution with gaps in it makes it harder to read it as a screw. This version includes a second twist: there are two independently rotating screws with opposite threads and different pitch. As the slider moves, it ensures that the screws each rotate at the correct speed and in the right direction to produce the illusion. Requirements • Four skateboard bearings (8x7x22mm) • 246 mm build height If you don't have skateboard bearings, you can use this this print-in-place model. If you want to scale the model down, you can figure out the bearing dimensions you need and use my bearing generator to print the right size bearings. Printing tips For printing, you want the Dual Portal Toy.oriented file, which has everything flipped the right way for printing. You'll want to pull the two “screw” pieces out separately, so you can print them in different colors. Print the screws and nut at .12mm maximum for best results. You can use larger layers for the other parts if you want.. I recommend printing the inner and outer screws first to get those right, then print the nut. That way, you can adjust XY compensation on th
MakerOnline · 大宝贝。
MakerWorld · Elmaker Design
MakerWorld · Olivier3dPrint
Printables · Marvin
MakerWorld · SmileyPrinter
Printables · BMoArtist
MakerWorld · Makers Mashup
MakerOnline · PrintCube3D
Cookies a měření. Nezbytné cookies jsou vždy; měření návštěvnosti a reklamy jen s vaším souhlasem. Víc o cookies